Last week I hosted a fun hair bow/flower-making party. We each (well...almost everyone. The slackers know who they are... :) demonstrated a flower technique. There was such a great variety! I loved seeing everyone getting down with their crafty selves.
 |
| Sundi and Sarah looking cute and crafty! :) |
I didn't take a lot of pictures of the bows people made that night. The lighting wasn't too good and I can't figure out how to take good close-ups with my camera in poor lighting. Bah. I need to find the manual for it. I was hoping to get some made after the party and take pictures (I was too busy visiting and snacking during it to make many...I only made one and I didn't even finish it!) but I've been too busy with my writing. Oh, how I love to wait until the last minute to do things! Blech.
 |
Jessica looking very serious about her bow project.
Kendra looking...
seriously happy! :) |
Kendra showed us these
super cute flowers that look like they are much harder than they actually are! And by the way, Kendra wins the award for getting me her link for her flower the fastest. Thank you Kendra!! :)
Allison tried her hand at making a
sweet satin rose that I've never seen before. And it turned out really really pretty!
Seanie, my cute neighbor, showed us how to do a fun fabric flower....I can't find a tutorial for it on-line though. I'll keep looking...
 |
Here's cute Allison and I.
I made this pic black and white because I had
a yucky rash on my neck and it's harder to tell like this! Ugh. I couldn't figure out why my neck looked like
I had the plague. But now...I'm thinking I'm allergic to my moisturizer. Or maybe....it is simply the plague.
Better keep back. |
Jessica showed some really sweet flower clips made by
singing the edges of satin. Sundi demonstrated how to burn the edges. This is such a super easy technique with such fun results. It's a bit addicting!
Mikki (my super cute sis-in-law who I love and adore and who I wish I'd snapped a picture of before she had to run off to do homework :) showed how to make cute itty bitty fluffy flowers.
|
| Heather and Cassidy working as a team on their crafts! |
Shanna, Heather and Cassidy shared a bunch of clips they've been making. They are like the
rolled rosettes you see everywhere, but they tried making them with ribbons. Oy! I wish I'd taken more pictures! They are really really cute. Snap.
*Edited to add* Yay! Shanna sent me a picture of her clips!

These are so sweet, right? It looks like she rolled the ribbon with pearls that you can buy by the yard (I've gotten them from Wal-mart). I love 'em. I wouldn't have thought of useign the pearls like this.
Kathy, a self-proclaimed non-crafty girl, showed how us how to make a cute (I think I need to find a new word for cute...I'm using it quite a bit in this post!)
ribbon flower. I keep trying to suck her into the crafty world and so far I'm doing pretty good. Skirts, a quilt, a tulle tu-tu and now hair clips! Kathy, I'll convert you to the crafty-life yet. :)
 |
Kathy with her cute ribbon clip,
Shanna and wee Emmett. |
Kayli showed how to make a fun gathered flower. It was a really great simple idea that would be fun in all sorts of different fabrics. Hmmm, I've tried searching for a tutorial on-line for it, too. I'll have to keep looking.
Mindy showed us a neat layered ribbon flower. Lots of fun possibilities with it. Snap. I tried to find a tutorial for it, but couldn't.
It was interesting how one idea seemed to show up in quite a few different ways. I demonstrated how to make these flower puffs....
To make these you cut out about 8 round flower shapes, pick at them to make them fray, fold them in half and then in half again and then string them onto thread like garland. Then once you have them all on the thread you loop it around to the first one and take a stitch, pulling it tight. Then you fluff them up and attach to clips. I will try to find time to put together a better tutorial than that brief explanation!
 |
Sundi getting busy with a glue gun
and some fabric. |
I love how they turned out! The flower Mikki shared was similar, Allison brought one she had made that was basically the same idea (without the fraying) and Sundi....well, she showed how to make a clip like this but soooo much easier. With glue! I love it.
Basically she cut out four big round flower shapes and four small ones. Then she glued them all together and...Voila! So easy and cute. (hmmm....that explanation was somewhat lacking, eh?)She said she's going to make a little video tute. And, thus, the anticipated waiting begins. I'll let you know when she puts together the theatrical masterpiece. (no pressure Sundi :)
Funny that four of us did something so similar, right?
As I was scouring the net for flower tutorials, I found some fun ones I'd like to try...
Scrappy Strip Rose (ok. This is seriously a really awesome flower.)
Folded Flower with a Covered ButtonFelt Flower Ball (I love it with the little leaves. So cute.)
Another Felt Flower
And if you're looking for bow tutorials, I found a bunch here...
Boutique Hair Clips


 Zoe's little friend, Elina came over and they had oodles of fun making things together. I love watching my kids interact with their friends. They're so cute together. As I type this, my boys are making a lego version of the TV show Wipe Out with a friend. So far they've had to ask for a bread pan, water and soap. Apparently they need to make some "acid" to torture their lego men with, too.. Sweet boys, right?
  Elina enjoyed making little gingerbread men "cookies". Hmmmm, it doesn't look like Zoe was interested in eating any though.
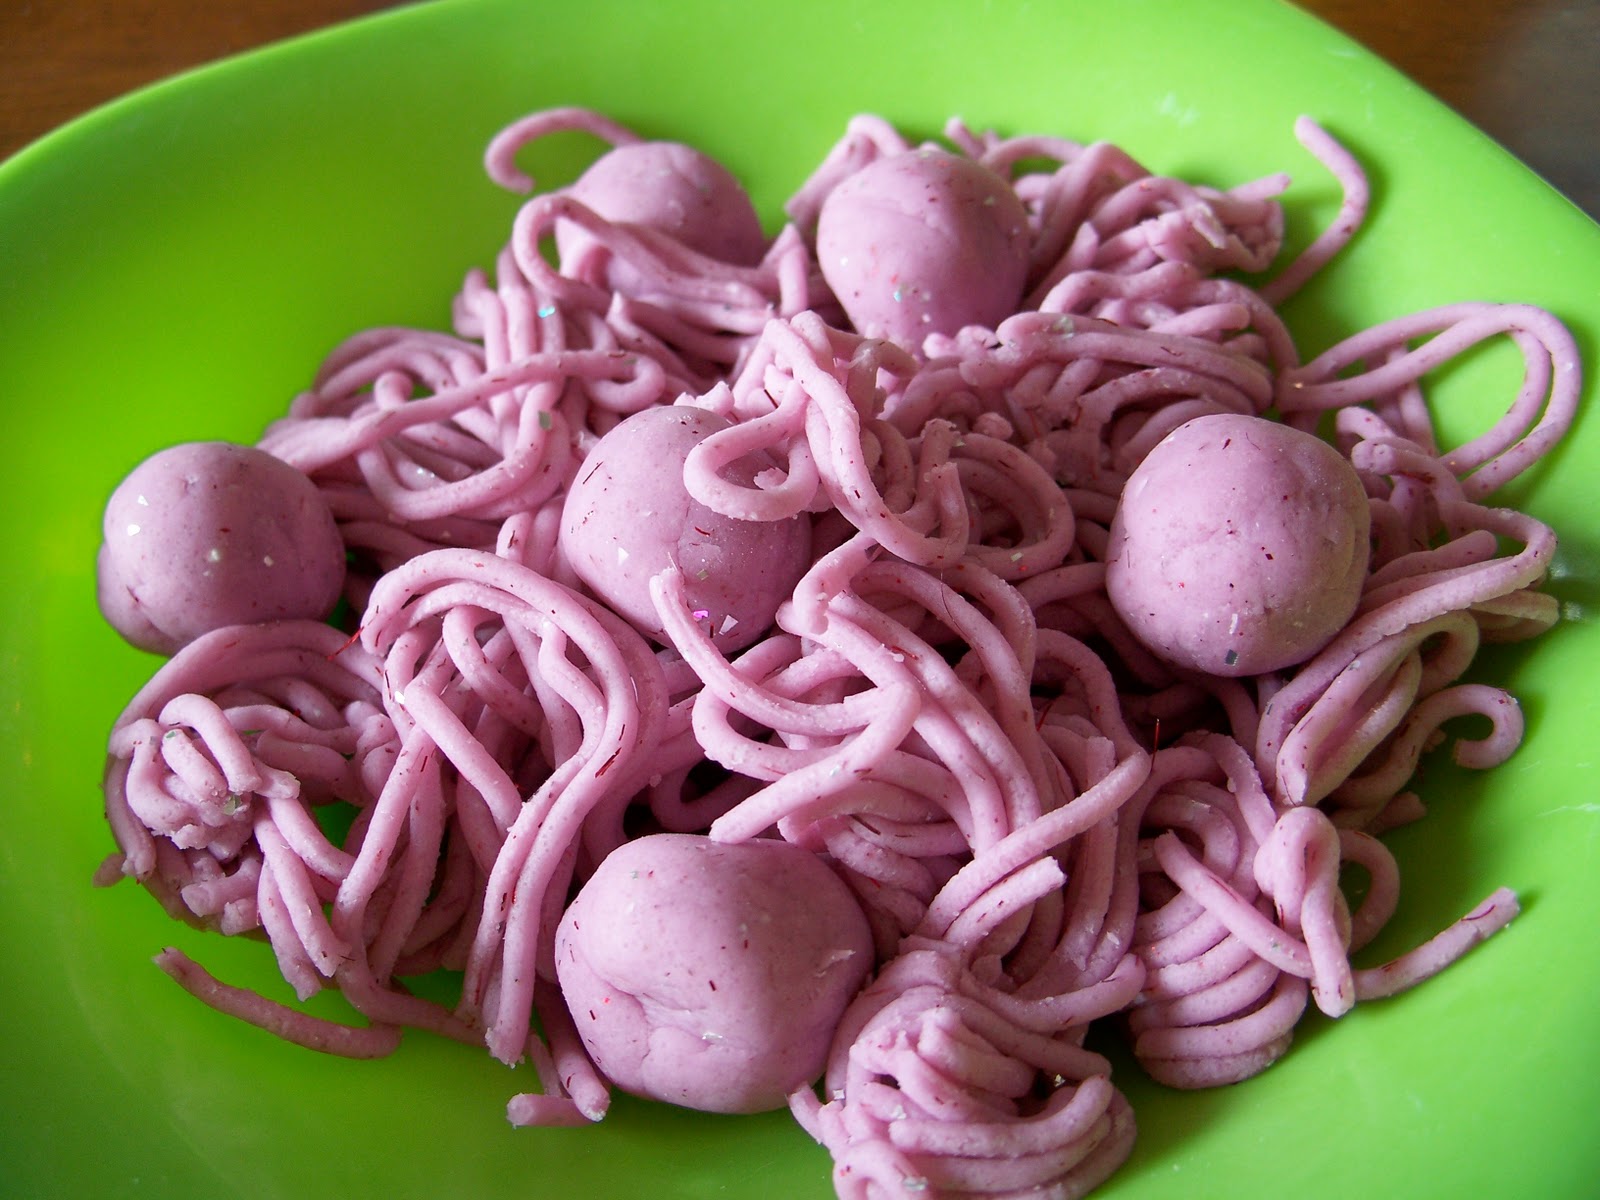

 I gave her some playdough in a plastic baggie. But she wasn't very interested in it. She wanted the real deal. Problem was that she kept trying to eat it. Or throw it. And it's funny that she had to keep tasting it and then spitting it out. How's that short term memory baby?


